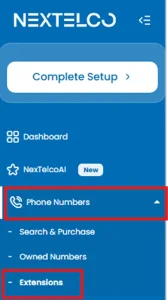
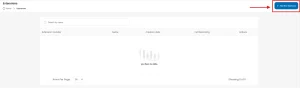
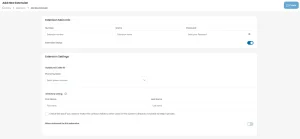
Extensions allow you to streamline your communication processes by creating additional numbers or sub-lines linked to your main phone number. Follow these steps to add and manage extensions in the NextelcoAI dashboard.
Ensure you are logged in to your NextelcoAI account.
Ensure you are logged in to your NextelcoAI account.


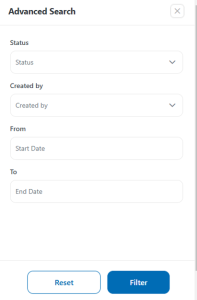
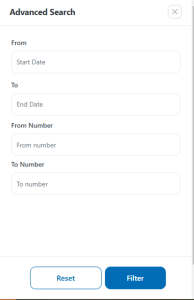
The Advanced Filter helps you quickly locate specific campaigns based on multiple criteria. Here’s how to use it:

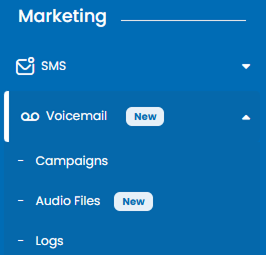
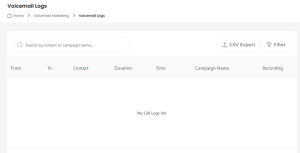
Voicemail Logs provide a detailed overview of your voicemail campaigns and individual messages. Follow the steps below to access and manage your voicemail logs.


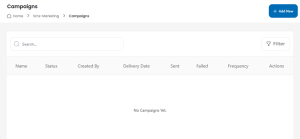
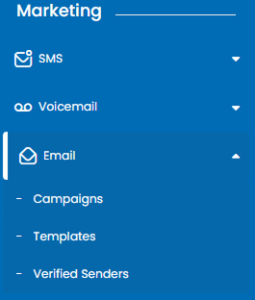
The Email Campaigns section allows you to manage your email marketing campaigns effectively. You can view, filter, and organize your campaigns with ease. Follow the guide below to navigate and use these features.

1.Open the Filter Panel:
2.Filter Options
3. Apply Filters
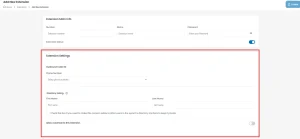
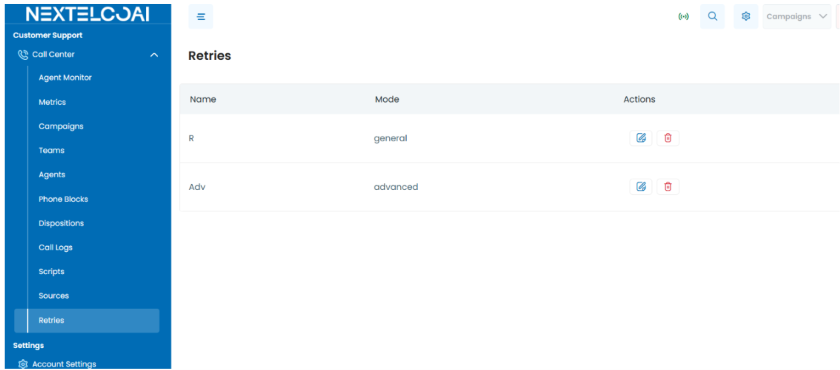
The Retries module in NextelcoAI allows administrators to configure and manage call retry strategies for the Call Center system. This feature helps improve call connection rates by automatically retrying failed or unanswered calls based on predefined retry modes and settings.
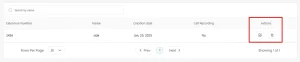
The Retries management page contains a data table with information such as Name, Mode, and Actions, enabling users to create, modify, and manage retry configurations efficiently.
Video Tutorial:
The Retries page provides a table containing the following columns:
|
Column |
Description |
|
Name |
Name of the retry configuration |
|
Mode |
Retry mode applied to the configuration |
|
Actions |
Options to edit or delete the retry configuration |
The Retries module in NextelcoAI provides an easy and effective way to manage call retry strategies. By configuring appropriate retry modes and maintaining well-organized retry profiles, administrators can improve call center efficiency and maximize customer engagement outcomes.
Customer Support > Call Center > Retries
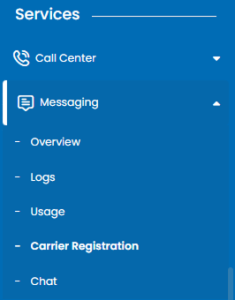
The Messaging – Chat feature allows you to send and receive messages to and from your contacts directly within the platform. This feature streamlines communication and provides an easy-to-use interface for managing conversations.
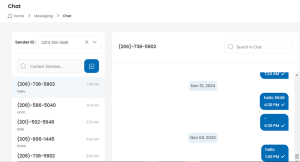

Managing Chats

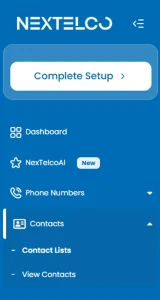
NexTelcoAI appears to be an AI-powered telecom/business communications platform available as a mobile app (Android and iOS), developed by DevSolutions Group. Based on its public app listings, it is designed to help businesses manage calls, messages, voicemails, sales activity, and customer interactions from one system.
Extensions allow you to streamline your communication processes by creating additional numbers or sub-lines linked to your main phone number. Follow these steps to add and manage extensions in the NextelcoAI dashboard.
Ensure you are logged in to your NextelcoAI account.
Ensure you are logged in to your NextelcoAI account.
The Advanced Filter helps you quickly locate specific campaigns based on multiple criteria. Here’s how to use it:
Voicemail Logs provide a detailed overview of your voicemail campaigns and individual messages. Follow the steps below to access and manage your voicemail logs.
The Email Campaigns section allows you to manage your email marketing campaigns effectively. You can view, filter, and organize your campaigns with ease. Follow the guide below to navigate and use these features.
1.Open the Filter Panel:
2.Filter Options
3. Apply Filters
The Retries module in NextelcoAI allows administrators to configure and manage call retry strategies for the Call Center system. This feature helps improve call connection rates by automatically retrying failed or unanswered calls based on predefined retry modes and settings.
The Retries management page contains a data table with information such as Name, Mode, and Actions, enabling users to create, modify, and manage retry configurations efficiently.
Video Tutorial:
The Retries page provides a table containing the following columns:
|
Column |
Description |
|
Name |
Name of the retry configuration |
|
Mode |
Retry mode applied to the configuration |
|
Actions |
Options to edit or delete the retry configuration |
The Retries module in NextelcoAI provides an easy and effective way to manage call retry strategies. By configuring appropriate retry modes and maintaining well-organized retry profiles, administrators can improve call center efficiency and maximize customer engagement outcomes.
Customer Support > Call Center > Retries
The Messaging – Chat feature allows you to send and receive messages to and from your contacts directly within the platform. This feature streamlines communication and provides an easy-to-use interface for managing conversations.
Managing Chats
NexTelcoAI appears to be an AI-powered telecom/business communications platform available as a mobile app (Android and iOS), developed by DevSolutions Group. Based on its public app listings, it is designed to help businesses manage calls, messages, voicemails, sales activity, and customer interactions from one system.
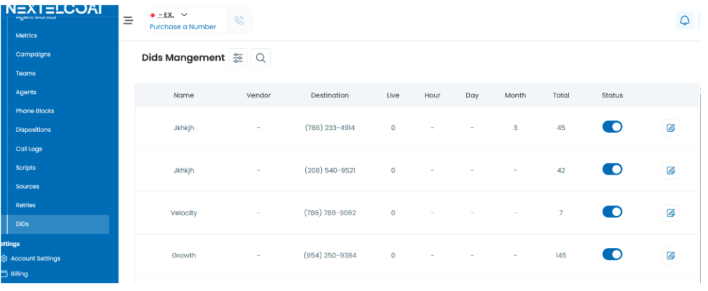
The DID (Direct Inward Dialing) Management module in NextelcoAI allows administrators to manage phone numbers, monitor usage statistics, and control the availability of DIDs within the platform. This feature helps organizations efficiently organize inbound communication channels and track call-related metrics.
Video Tutorial:
The DID Management screen provides the following tools and information:
The DID table displays important information for each configured phone number, including:
|
Column |
Description |
|
Name |
Name assigned to the DID |
|
Vendor |
Service provider associated with the DID |
|
Destination |
Destination number or routing target |
|
Live |
Current live status of the DID |
|
Hour |
Hourly call statistics |
|
Day |
Daily call statistics |
|
Month |
Monthly call statistics |
|
Total |
Total usage or call count |
|
Status |
Enable or disable DID availability |
The DID Management module in NextelcoAI provides a simple and effective way to manage phone numbers, monitor usage metrics, and control DID availability. By utilizing the search, filter, and status management features, administrators can efficiently oversee their organization’s inbound communication infrastructure.
A settings/filter icon and a search icon located next to the title.
Data Table Columns: A light gray navigation bar with headers for Name, Vendor, Destination, Live, Hour, Day, Month, Total, and Status.
Call Center > DIDs>